Drupal is a content management system which offers an array of features for creating simple to complex web applications.
To run Drupal in Docker, we will have to create two containers. One for the web server and another one for the database server. Before we run the containers, we create volume and network resources needed by the containers.
Volume will make sure of data persistence and the network will make sure that our containers have fixed IP. Having static IP will make sure that the web server can always connect to the database server. Containers, if not assigned static IP, can have their IP change which can cause issues with the application hosted.
1. Create Docker volumes for data persistence.
docker volume create drupalweb
docker volume create drupaldb
2. Create Custom Docker network for static IPs for servers.
docker network create --subnet 10.10.10.0/29 drupalnet
Here, we create a /29 network and name it drupalnet. In this network, the first IP address shall be assigned for a virtual gateway needed by Docker to connect to host OS's network. Thus, 5 containers can be connected in this network, making the maximum nodes in the network as 6.
We will later assign two static IPs from this network for the two containers.
3. Run a docker container for Drupal's web server.
docker run -dit -p 5000:80 -v drupalweb:/opt/drupal --name drupalwebsrv --network drupalnet --ip 10.10.10.2 drupal
Here, we have mapped host OS's port 5000 to port 80 of the container. We also used our volume drupalweb to map the folder /opt/drupal which is the Drupal's root folder. The container shall be in a network called drupalnet which was created earlier and it was assigned an IP address 10.10.10.2. The last argument is the name of the image to be used. If the image is not available locally, it will pull the image from Docker registry at hub.docker.com.
4. Run a docker container for MariaDB database server.
docker run -dit -v drupaldb:/var/lib/mysql -e MARIADB_ROOT_PASSWORD=nepal --network drupalnet --ip 10.10.10.3 --name drupaldbsrv mariadb
Here, we have not performed any port mapping as it is a good practice not to expose any ports of the database server. A volume named drupaldb was mapped to a folder /var/lib/mysql where the database files shall reside. An environment variable named MARIADB_ROOT_PASSWORD has been set as nepal. The container shall also be part of the drupalnet network with a fixed IP address of 10.10.10.3.
Thus the web server and database server shall communicate with each other through the drupalnet network at 10.10.10.0/29.
5. Log into the database server container.
docker exec -it drupaldbsrv bash
6. Enter the mariadb shell as the root user.
mariadb -u root -p
7. Type the password and press enter.
Note: In Linux, no characters are shown while typing the password (not even stars).
8. Type the following SQL to create a database named drupal. Don't forget to end the statement with a semicolon.
create database drupal;
9. Exit the mariadb shell.
exit
10. Exit the container.
exit
11. Go to web browser and access the Drupal's web server at following address:
localhost:5000
Note: Instead of localhost, the IP address of the host OS can also be used. This will make Drupal accessible through the network by default. If the application is set up using localhost domain, a config file will have to be updated later inside the web server container.
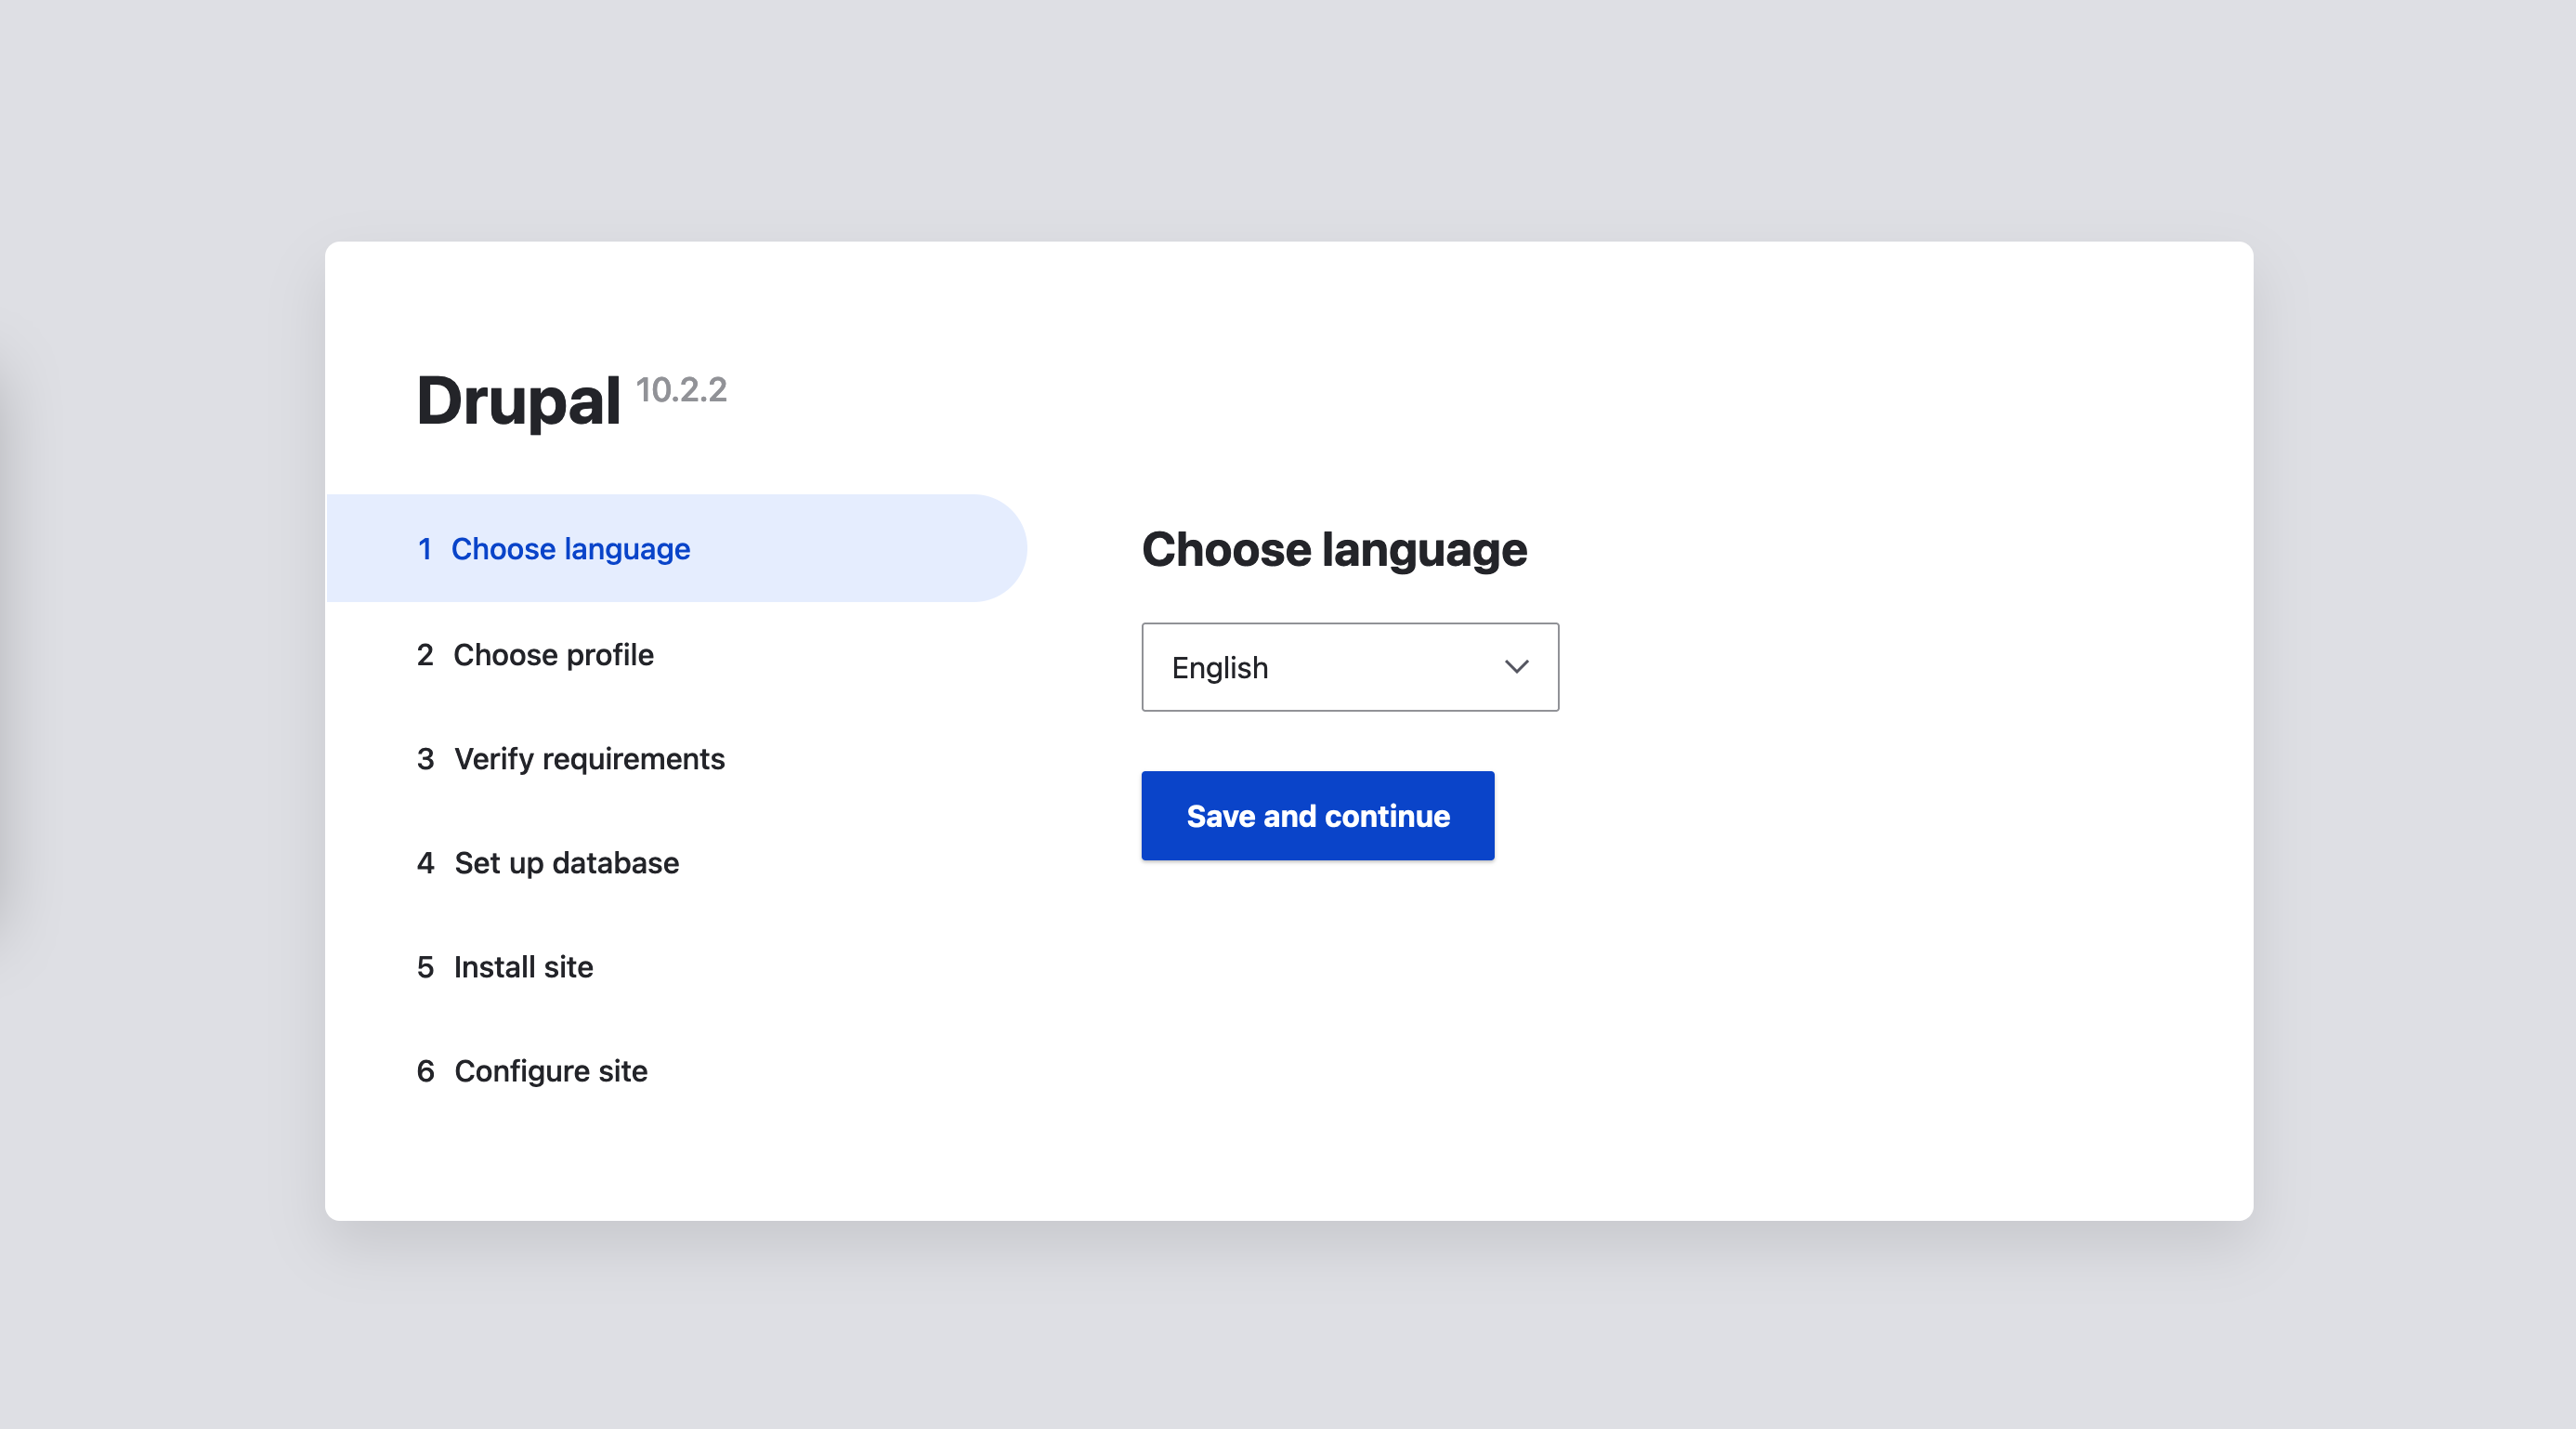
12. Choose language for Drupal site.

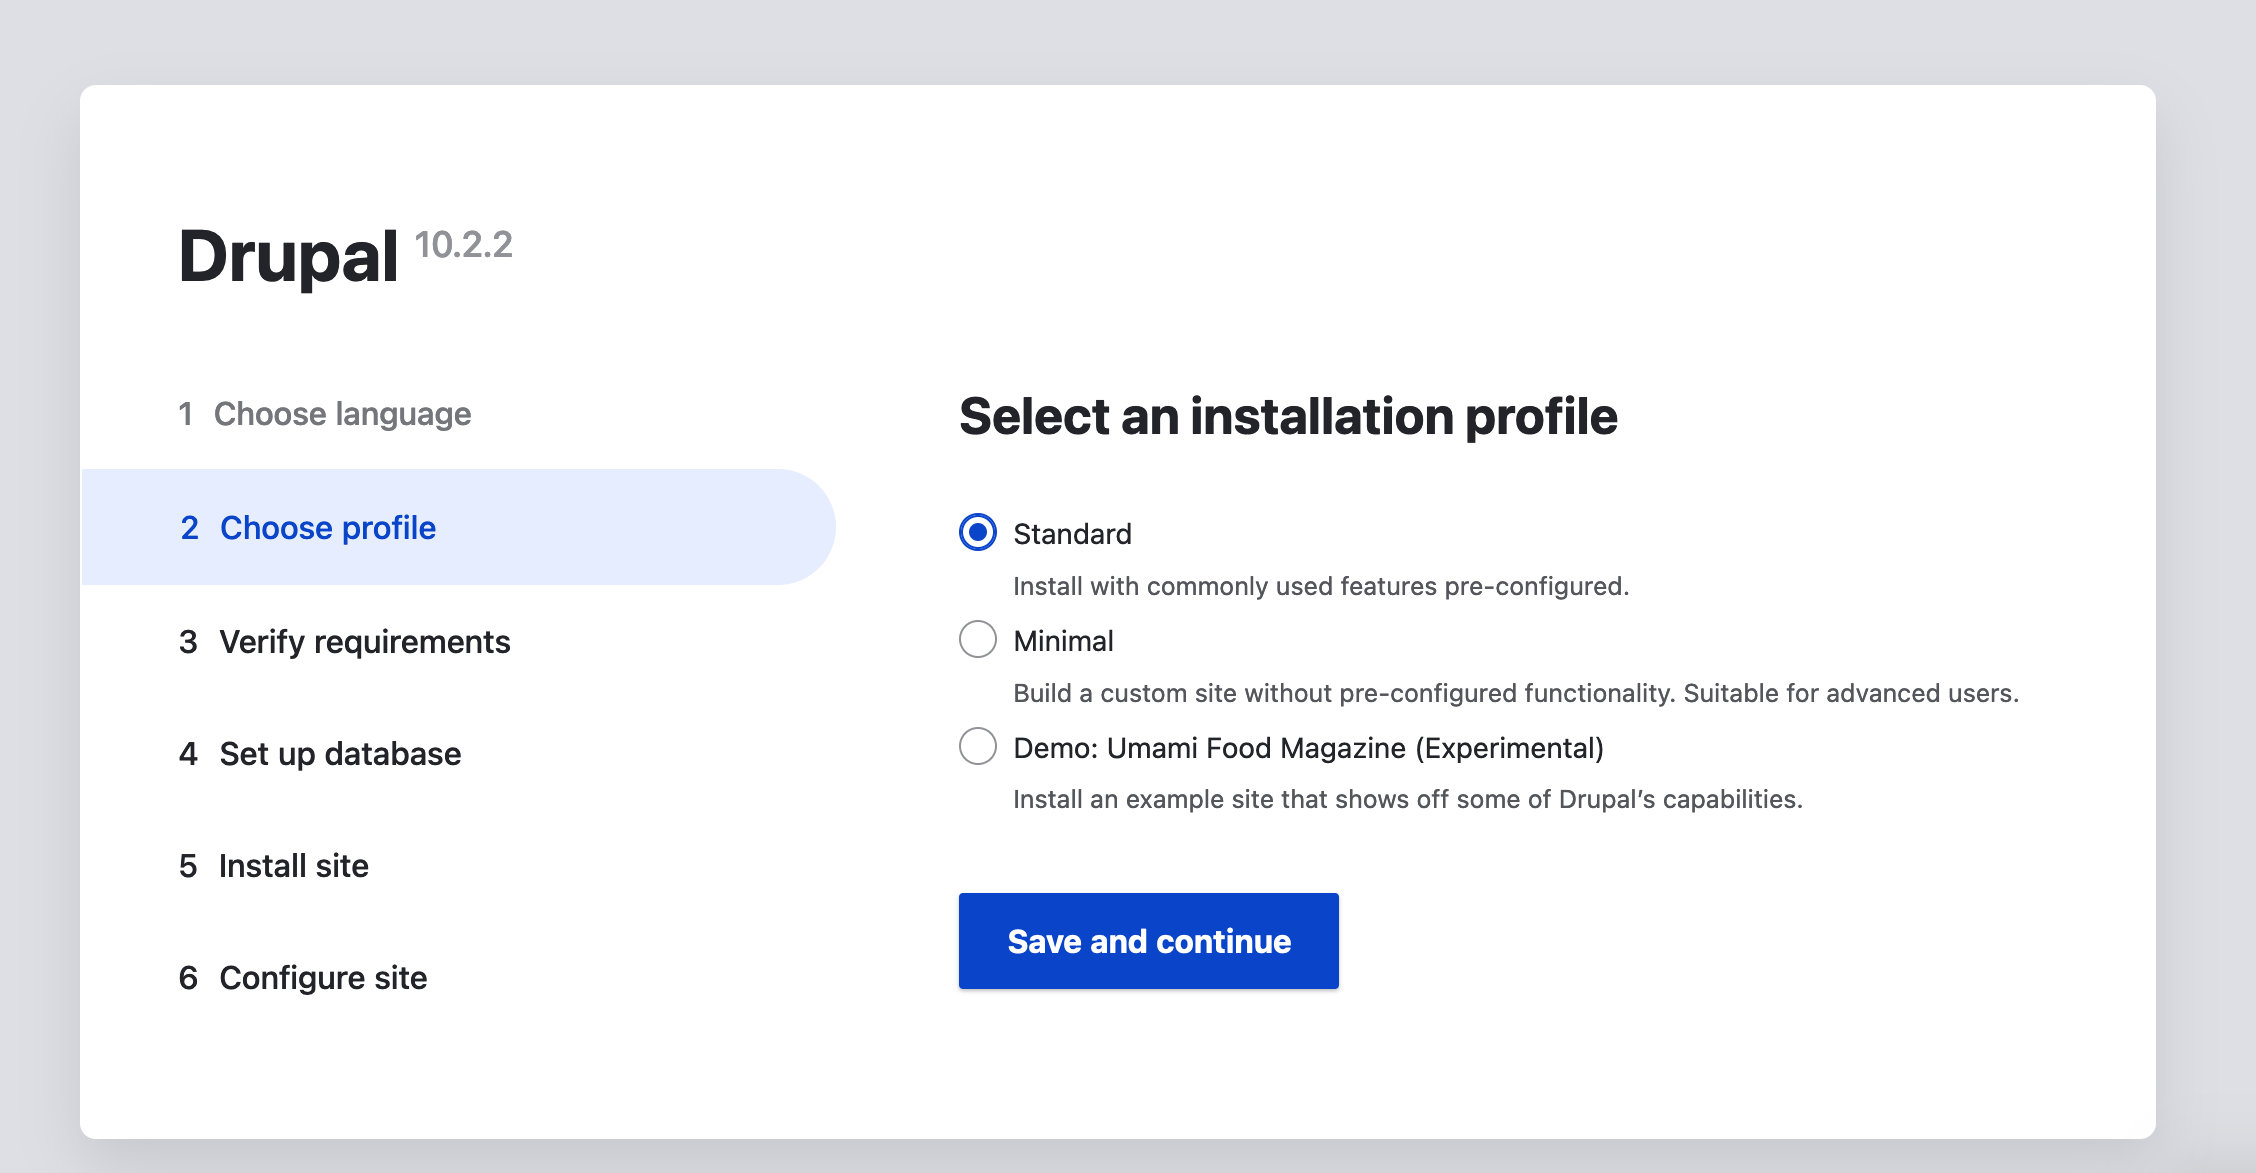
13. Choose Standard as an installation profile.

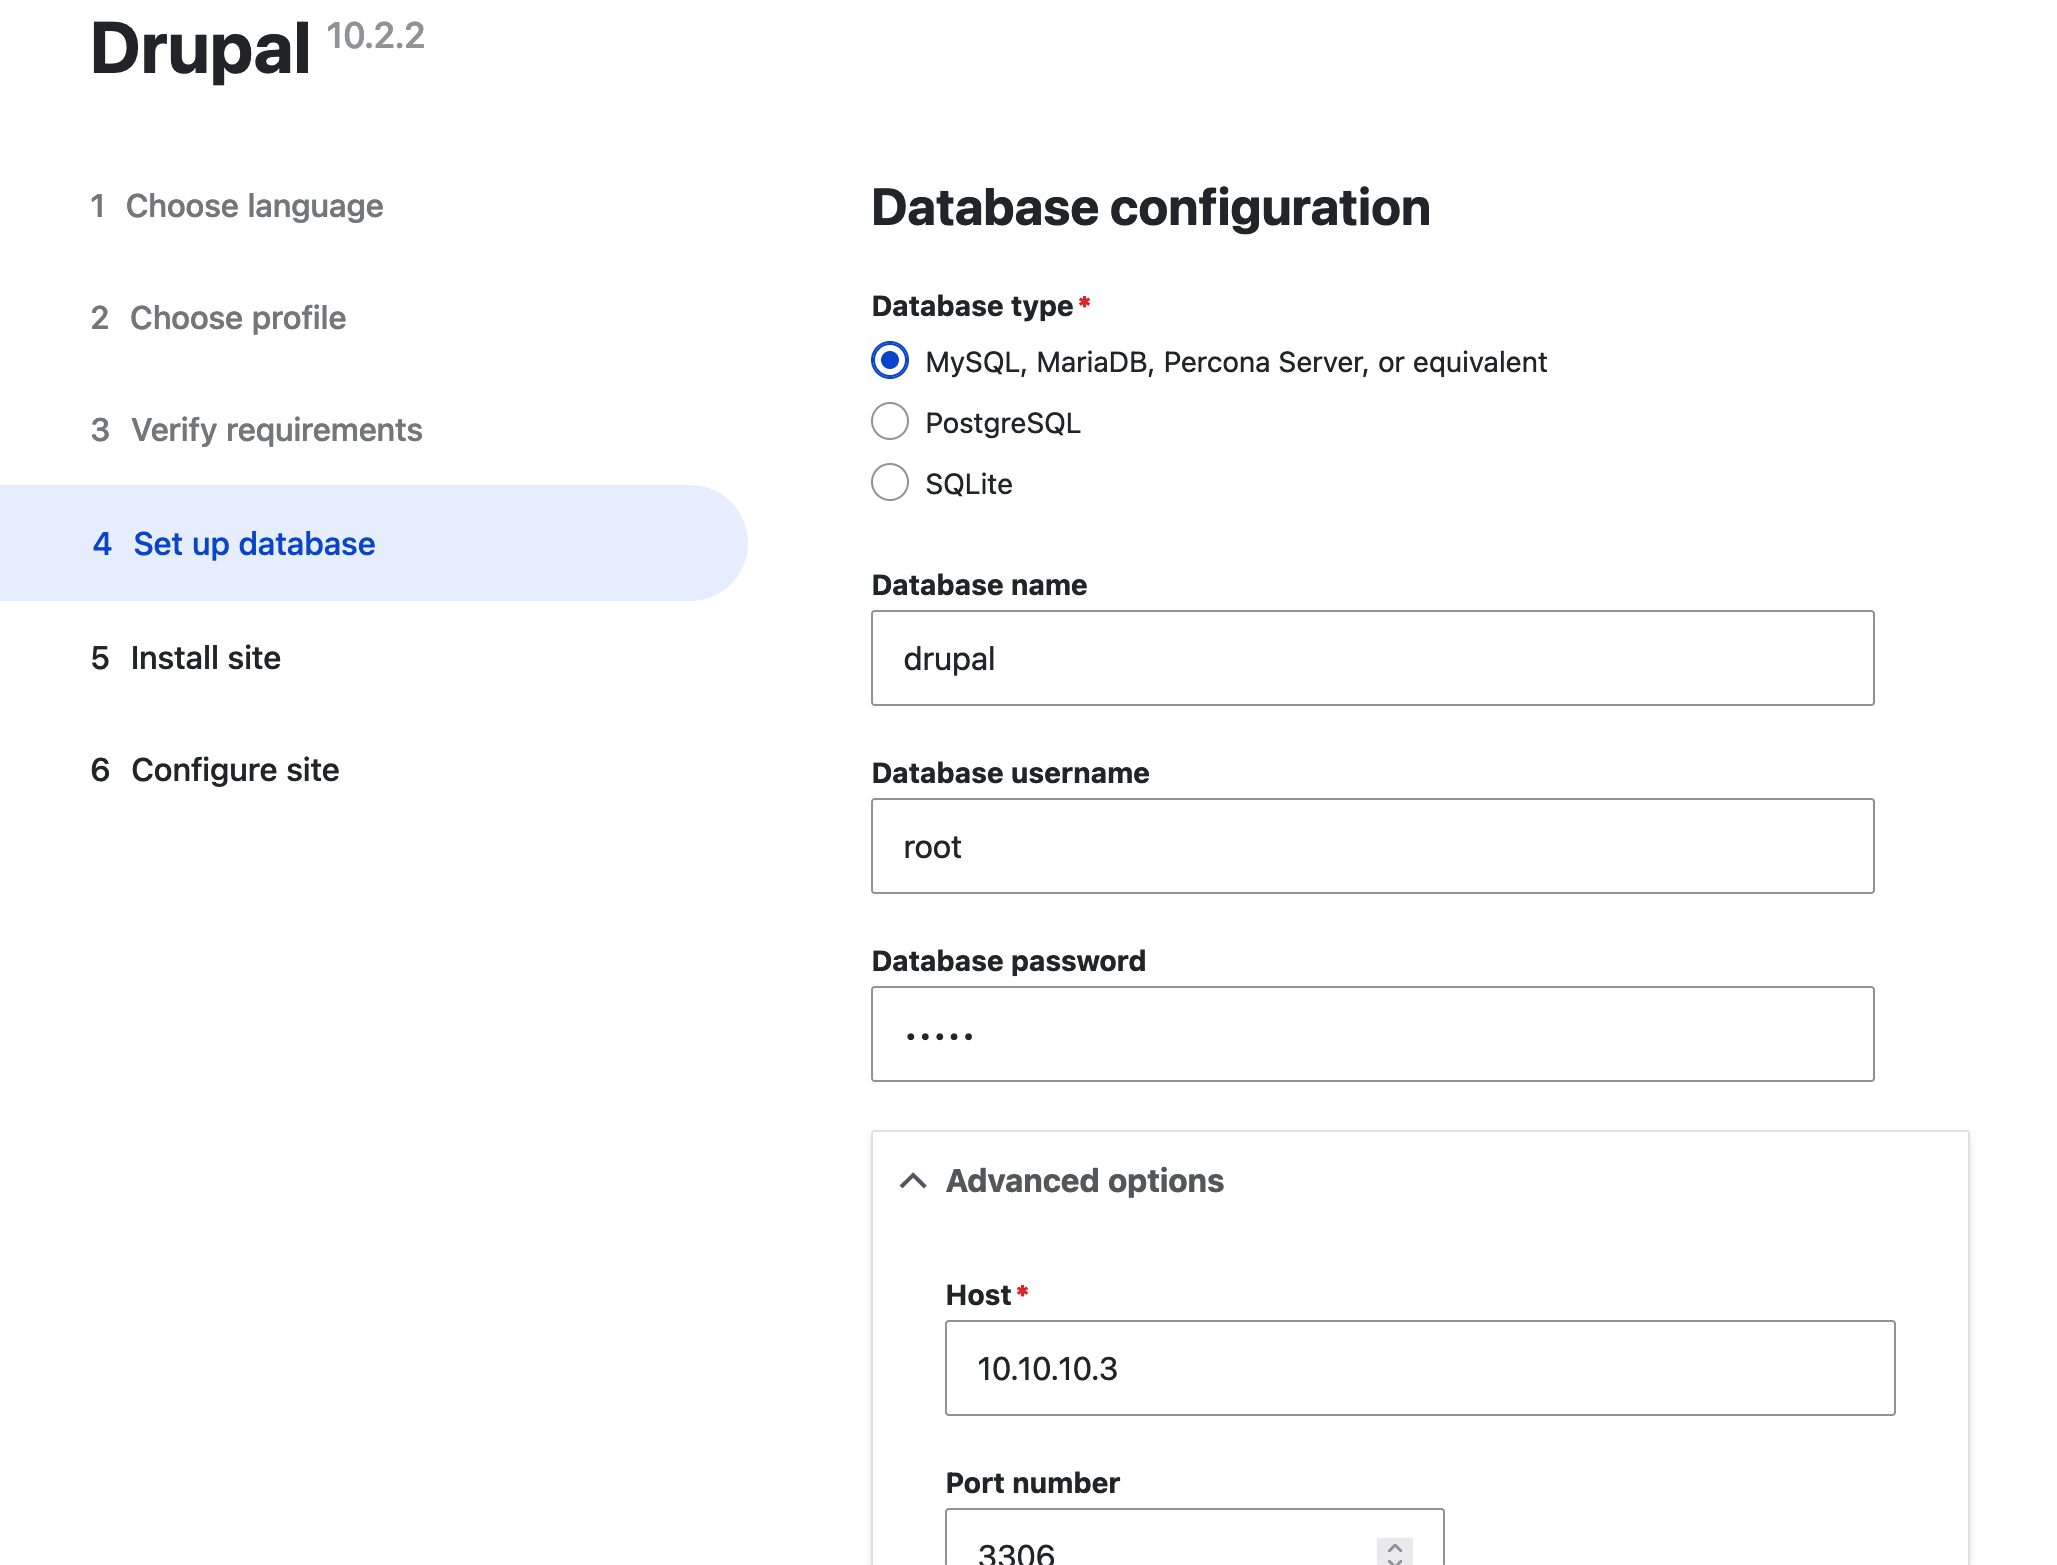
13. Select MySQL/MariaDB as database type and provide following details during the setup:
- Database name: drupal
- Database username: root
- Database password: nepal
- Database host: 10.10.10.3 (Under Advanced options)

Note: If SQlite is chosen as the type of database, no settings are required. However, sqlite is only suitable for learning purposes and not recommended for production servers. One major limitation of sqlite database is that in any table the maximum number of rows allowed is 264.
Proceed with Drupal setup by providing following details:
- Site name
- Site email address
- Username
- Password
- Email address
- Default Country
- Default time zone
Press save and continue. The Drupal site should be ready as shown below:
